vEP Enterprise Portal
What is vEP?
vCreative’s Enterprise Portal (vEP) is a centralized workflow platform that connects to the vPPO system in each market, automatically surfacing production orders for local attention.
How to access vEP
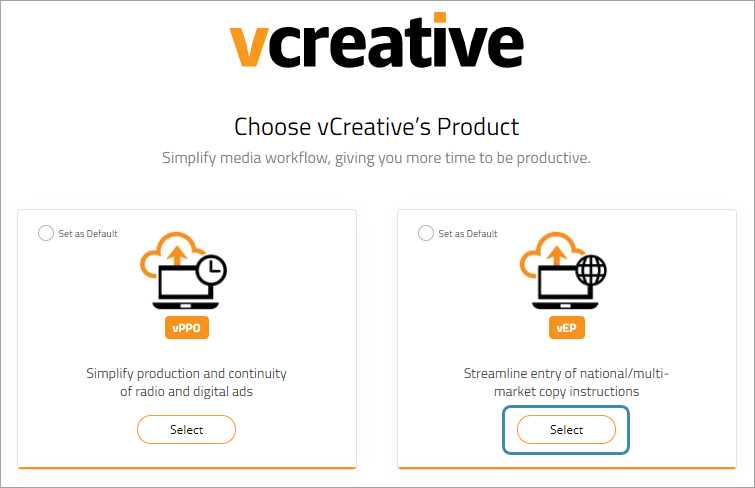
To access vEP, go to: https://vcreative.net/#/.
Log in with your vCreative username (email address) and existing password. The product chooser page will open. This page displays all the vCreative products you have access to. Select vEP.
Accessing other vCreative products
To go access another vCreative product like vPPO, click on the product switcher icon in the upper right-hand side (1). Then select the product you want to use (2). 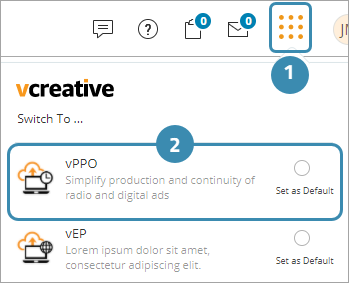
vEP Copy Instruction Window
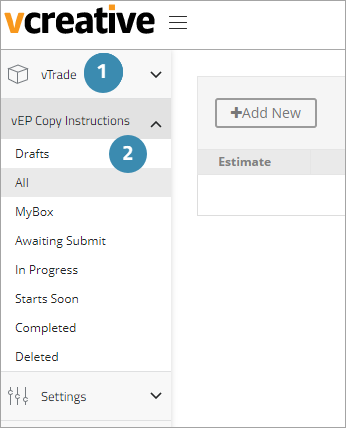
- When you first log into vEP, you will see a blank dashboard. If you have access to vTrade, it will be listed here.
- Under vEP Copy Instructions, your vEP folders are displayed. The ^ symbol will collapse the list. The v will expand it.
Getting Started
Before entering production orders into vEP, one option is to set up Agencies, Contacts, Clients, and Distribution groups in the Settings section. You can also create Clients, Distribution Groups, Agencies and Agency contacts directly on the vEP order.
Agencies
- Go to Settings > Agencies.
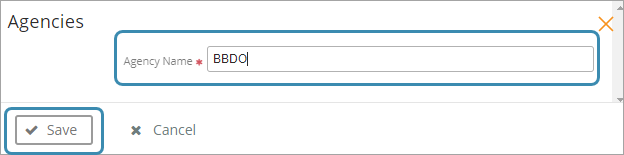
- In the Agencies window, click the + Agency button.
- Enter the Agency name, then click Save.
Clients
Advertisers/Clients will need to be entered as new clients in vEP. This decision was made to keep your Client list smaller than the local market Client lists. When vEP sends a Production Order to vPPO, it will match to an existing advertiser in vPPO or create it as new.
Note: You are able to enter a new client from the vEP order.
- Go to Settings > Clients
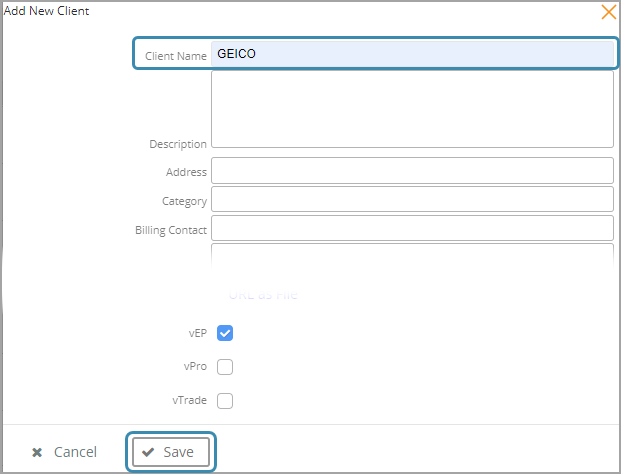
- In the Clients window, click the + Add New button.

- Enter the Client name.
- If you have additional info for the advertiser, enter it in the Client window. If not, click Save to continue.
Distribution Group
A Distribution Group is a collection of markets and stations. You can create a Distribution Group in the Settings section or directly on the vEP order. To create a Distribution Group from the landing page, follow the instructions below. Instructions on how to set up a Distribution Group on the Order is included in the Order Entry section.
- Go to Settings > Distribution Group.
- In the Distribution Group window, click the + Distribution Group button.
- Enter a descriptive name for the group in the Group Name field.
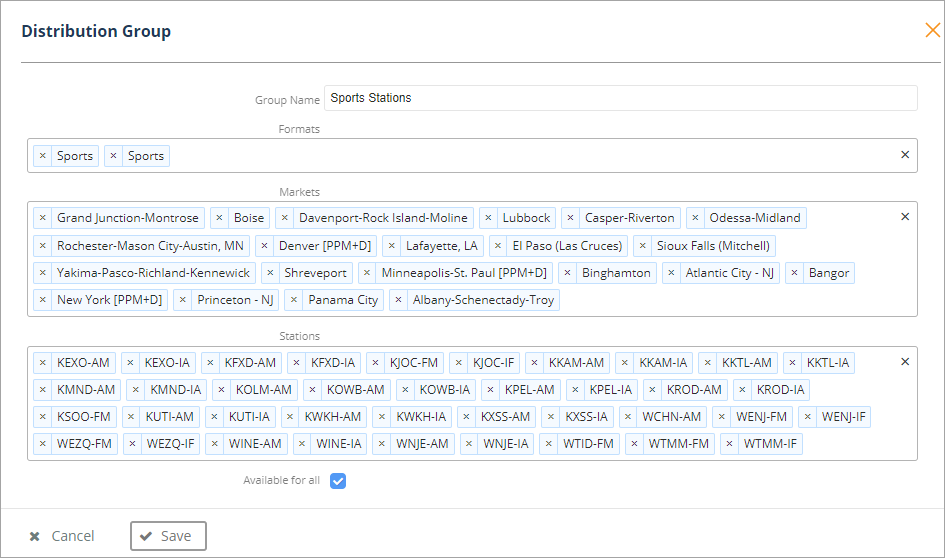
Optional: If you are targeting certain formats, use the Format section. Click in the Formats row to display a list of available Formats to choose from. Or, start typing the Format name and it will appear. Select the checkbox next to the Format. The markets and stations with those formats will be displayed.

- In the Markets field, start typing the market name and it will display or click in the Markets row to display a list of Markets to select. Select the checkbox to add it to the Group.
- The Stations will automatically populate when you select the market. To remove a station, click the x to the left of its name. You can also start typing a station name to add it to the group.
- Available for All Checkbox: checking this box will make the group available to all vEP users in your organization.
- When finished, click Save.
Agency Contacts
This contact can be tied to an agency and used as the default on each production order. Note: You are able to create an agency contact directly on the order.
- Go to Settings > Contacts
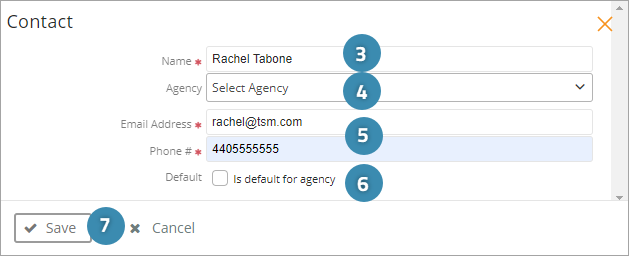
- In the Contacts window, click the + Contact button.
- Enter the Contact name.
- If this contact is associated with an Agency, select it from the Agency dropdown. Note: the Agency must be set up in vEP to display.
- Enter the Email Address and Phone number.
- If this contact is the default contact for the Agency, click the checkbox.
- Click Save.
Production Order Entry
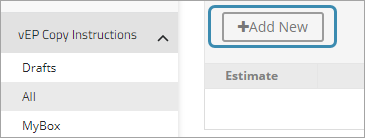
To start a new order, click any of the order folders like the All folder.
- Click +Add New to start a new order.
vEP Order Head
Only the fields designated with an * are required. The production orders are comprised of two sections, the Order Head and the Spot Lines.
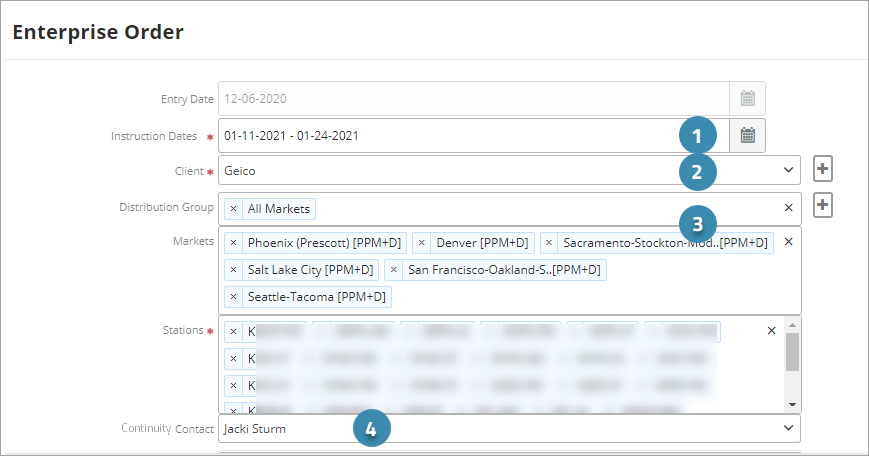
- Start by entering your flight dates in the Instruction Date field. Click on the calendar icon to open a calendar window.
- Designate the Client using the drop-down list or you can start typing the name in the field.
- Next select the Distribution Group or the Markets and Stations for the order.
- To enter the markets and stations, start typing the name in the appropriate field and the corresponding market/station will appear. Click the checkbox next to the market or station to select it.
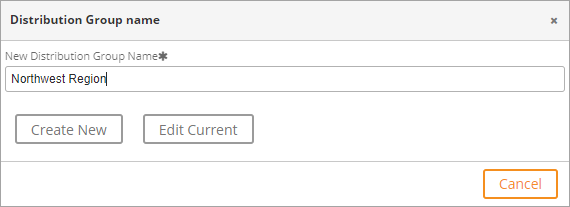
- A Distribution Group is a collection of markets and stations. You can create one in the Settings section on the vEP landing page or directly from the Order Head by clicking on the + next Distribution Group.
- To enter a new group from the Order Head, first enter all the markets/stations for your group. Next, click the + next to the Distribution Group field. Enter the name of the new Distribution Group and select Create New.
- If there is a primary Continuity Contact for this order that the markets should contact with questions, select it from the Continuity Contact drop down.
- vEP tracks each revision to the production order. The Instruction Version is listed.
- AdType: if all spots have the same AdType you can select here. The selection at the order head will automatically populate to each spot line. You can change it on each line.
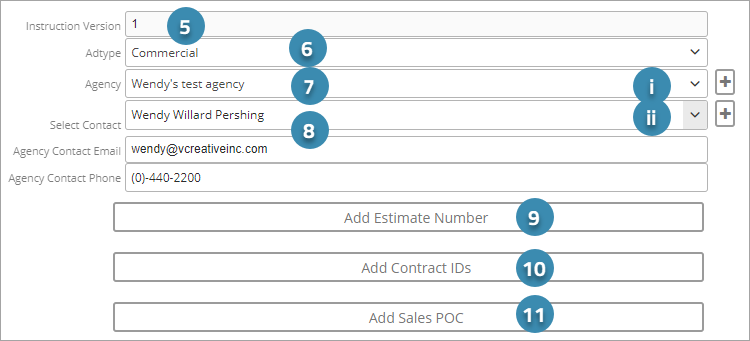
- Select the Agency using the drop-down list or you can start typing the name in the field.
- Contact: if an Agency contact was designated when setting up the Agency, it will automatically populate after you enter the agency. The Agency Contact Email and Phone will automatically populate.
- To create a new Agency, click on the + next to the Agency field and enter the required information.
- To create a new Agency Contact, click on the + next to the Contact field and enter the required information.
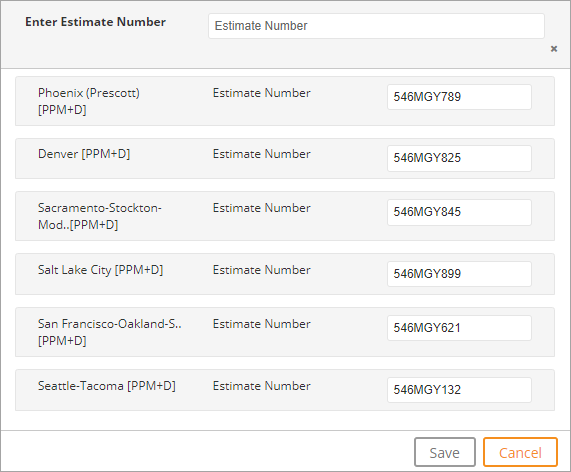
- If you have the Estimate Number, click Add Estimate Number. If you have one estimate for the entire Production Order, enter it in the Enter Estimate Number at the top of the form. If you have different Estimate Numbers in each market, you can enter those in the Estimate field next to the market name.
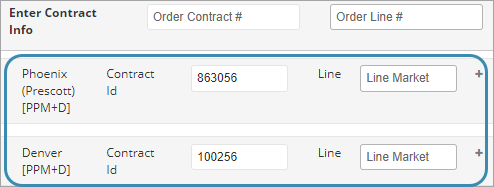
- If you have the Contract ID for the order, click Add Contract IDs.
- The Enter Contract Info window opens. If there is one Contract Id for the entire production order, enter it in the first row.

- If there are different Contract IDs per Market, enter those in each market’s Contract ID box.
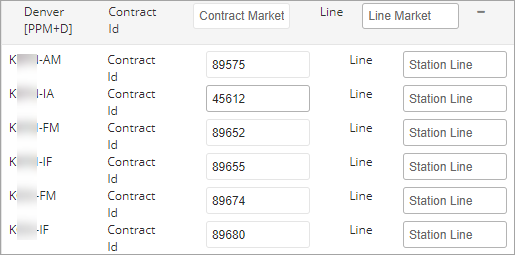
- If there are different Contract IDs per station, click the + at the end of the market row to expand to view all stations in the market.
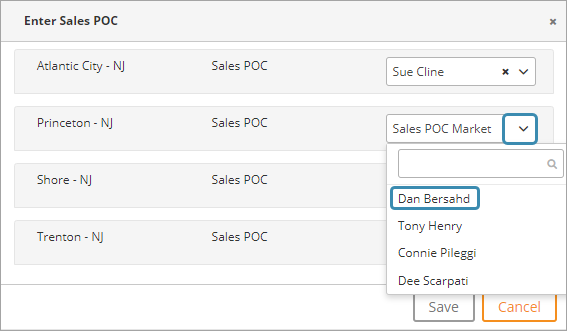
- To enter the Sales POC for each market, click the Add Sales POC button. Select the AE for each market by opening the drop down box and clicking on the AE’s name in the list. When finished, click Save.
Spot Lines

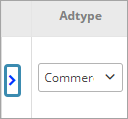
- Ad Type will default from what was entered at the Order Head. It is changeable for each line.
- Status: You can choose a Status from the drop down or let vEP automatically assign the status in vPPO based on what is entered in vEP. (Example, if the final spot is attached in vEP, the spot in vPPO will be Needs Dubbed.)
- Enter the spot name in the Creative Title.
- Start and End dates default from the Order Head but are changeable for each line.
- Select the Due Date for the spot.
- ISCI/Ad-ID field: Enter the ISCI or Ad-ID for the spot.
- Enter the spot length in the Length field.
- Enter the Rotation for this spot.
- Cart #: If all of the markets/stations will use the same cart number enter it here.
- If the creative is coming from a vendor like Extreme Reach, enter the url or location in the Spot Arriving From field.
- If the spot is Co-op check Yes.
- Tag: Checking the Tag check box will add a field for Tag in the spot attachment section. It will alert the local market there is additional work needed such as a local tag.
- Scheduled: Selecting this will mark the spot as scheduled in vPPO.
- Spot requires approval: If the spot needs approval, checking this box will activate the spot approval checkbox in vPPO. You will be alerted when the Final Spot is attached to the local PO. (Note: make sure your email alerts for Spot Approvals are on in vPPO.)
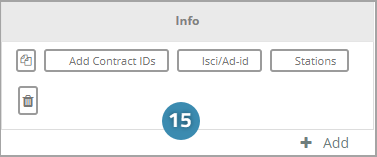
- In the Info column, you can copy the order line, customize the Contract Ids per market/station, customize the ISCI/Ad-ID’s per market and delete the line. Clicking on the + Add button will create a new line.
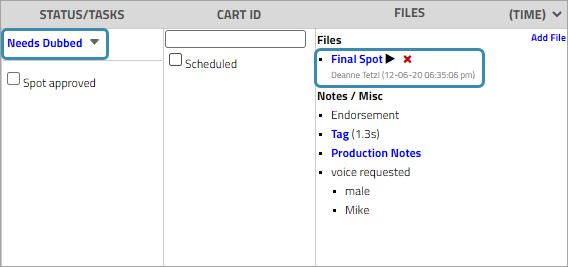
Adding Files and Additional Information
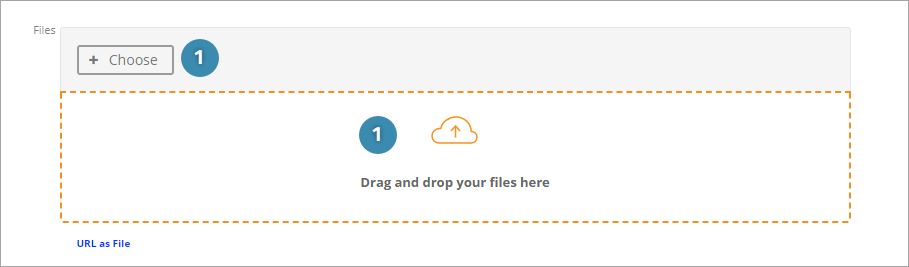
To add audio or other files to the spot to send to the local markets, click the blue arrow on the left side of the spot line.
- To add a file, select + Choose and navigate to the file location on your computer or drag the file from a folder on your desktop to the Drag and Drop section.
- After adding the file, you must select the File Type.

- Tag: If Tag was selected on the spot, the Tag field will be available.
- If the AdType is an Endorsement, the Voice selections will be listed.

- After all spot information is entered, enter the next spot line if applicable.
- If the order is complete and you are ready to submit to the local markets, click the Submit button. If you need to finish the order at another time, click Save and Quit.

Options from the Landing Page
Landing Page
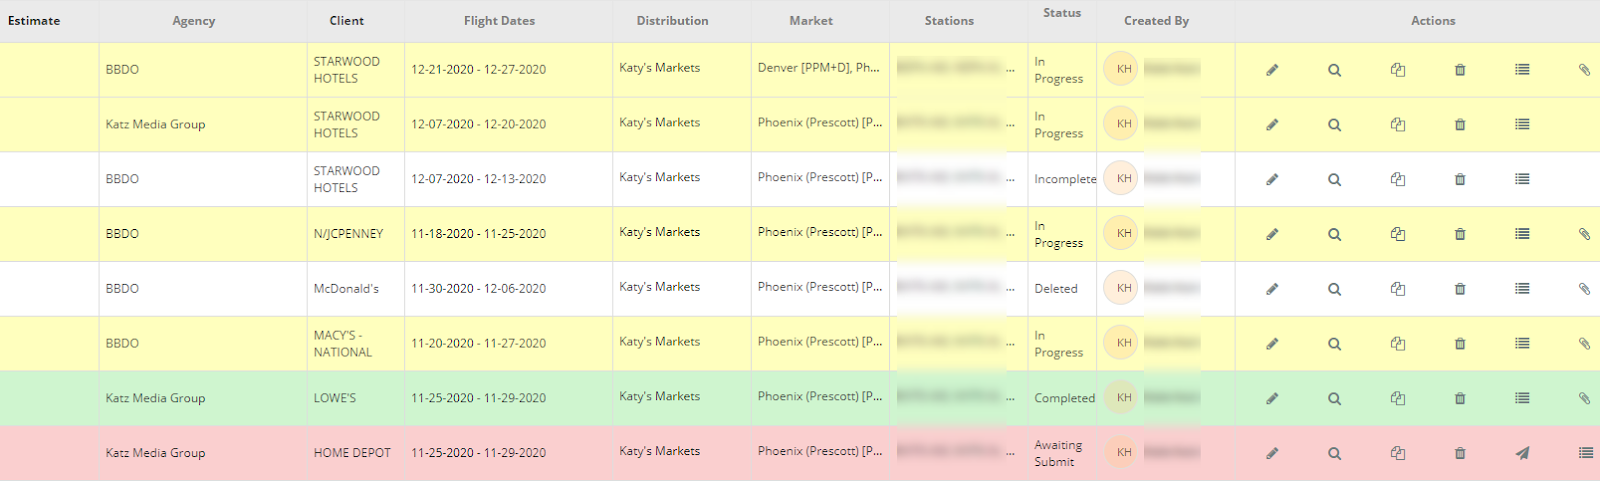
After saving the order, you are returned to the landing page. Production orders are colored by status similar to vPPO.
- Yellow = In Progress
- Pink = Awaiting Submit
- Green = Completed
- White = Deleted or Incomplete
Submitting from the Landing Page
If you exited the production order without submitting it, you can submit from the Landing page by clicking the Submit button under Actions.

Actions
Action icons allow you to make quick changes to the production order.
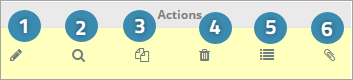
- Edit: To make changes to an order, click the Edit icon (Pencil).
- View: View the order details by clicking the magnifying glass icon.
- Copy: To copy the order, click the Copy icon.
- Delete: If you need to delete the order, click on the Trash can.
- See Progress: To view the progress of each spot, click on the See Progress button. A new window opens to view the spots by status. You can also blog from here.
- Attachments: View any attachments on the production order.
Progress and Blogs
Status
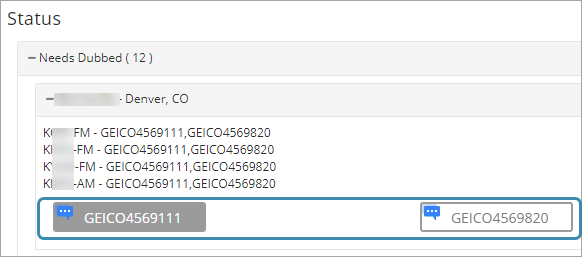
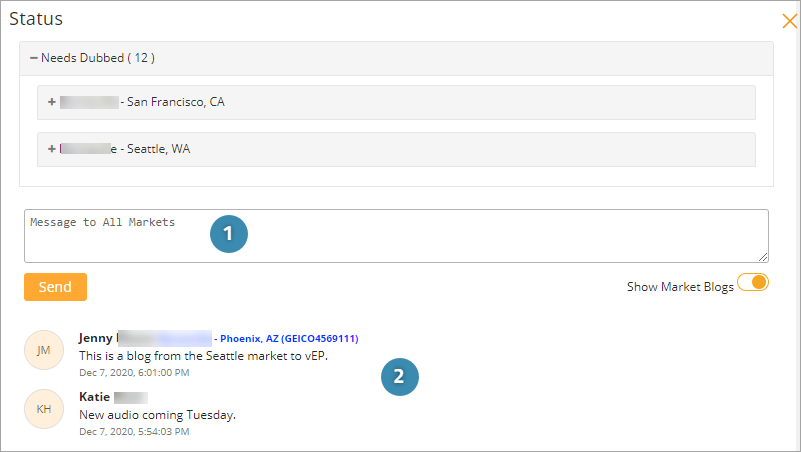
You can view the Status of each spot by clicking the See Progress icon in the Action bar. When the Status window opens, the spots are listed by vPPO status, example Needs Dubbed. To see which markets and stations are associated with the status, click the + sign next to the Status to expand the list.
The spots will be grouped by station and ISCI/Ad-ID. There will be a blog button for each spot. (If more than one spot was on the order.)
Blogs
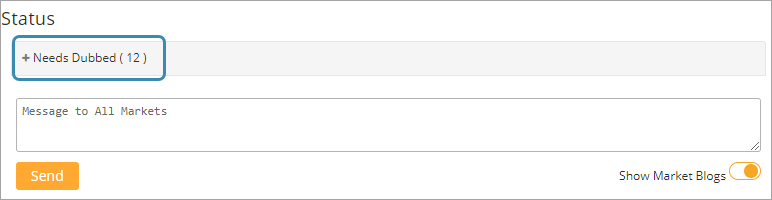
Blog messages can be sent from vEP to the local markets. The blog messages will appear on the PO in vPPO. A blog message is an in-product communication tool.
- In the See Progress window, you can blog to all markets at once by using the Message to All Markets box.
- Past blogs to and from the local markets will appear at the bottom of the window.
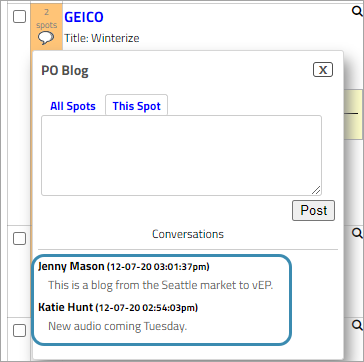
In vPPO these blogs will appear with other blogs on the PO.
vEP PO’s in vPPO
When a production order is submitted via the Enterprise Portal, it creates a PO in vPPO for each market on the vEP order. vPPO users will only be able to see PO’s for markets they have permission to access. The vPPO production order will follow the market workflow once submitted to vPPO. There are three visual indicators the PO came from vEP.

vEP Indicators in vPPO
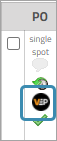
When a spot is sent from vEP to vPPO, three indicators have been added to the PO.
A new vEP icon in via vEP in the Due/Days via Enterprise Portal in
the PO column: column: History:
vEP Search
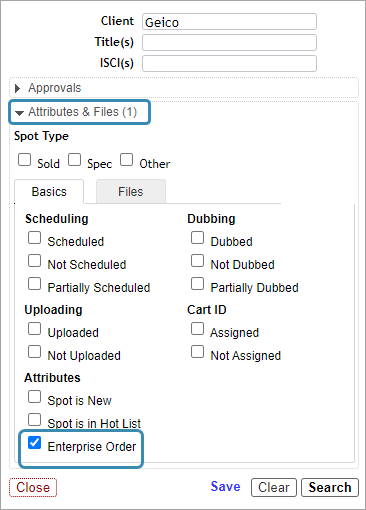
To search for vEP PO’s in vPPO, enter the client name. Expand the Attributes & Files section and check the Enterprise Order checkbox. If there are additional search criteria like dates enter those items, then click Search.
Spot Status
Spot Status can be assigned in vEP. If the Spot Status is left blank in vEP, the system will use the existing market workflow rules to assign the Spot Status. For example, if the vEP spot does not have the final audio attached, it will be a Status of Waiting on Spot in vPPO. If the final audio is attached, the spot will be in the Needs Dubbed status.
© vCreative. All rights reserved. vCreative vEP
Updated 8/3/21